Just thought I would do a photo review of Chipex. After 5 weeks of ownership my new SportivaNav had its first stone chip. I've used touch-up pens before but I always end up with a little mountain or a valley so I thought I would splash out on Chipex. They have a sale on so I went for the 20ml bottle, should last ages. I brought some Solid Black touch-up paint for my Mito, 30ml and after 3 years it has hardly moved.
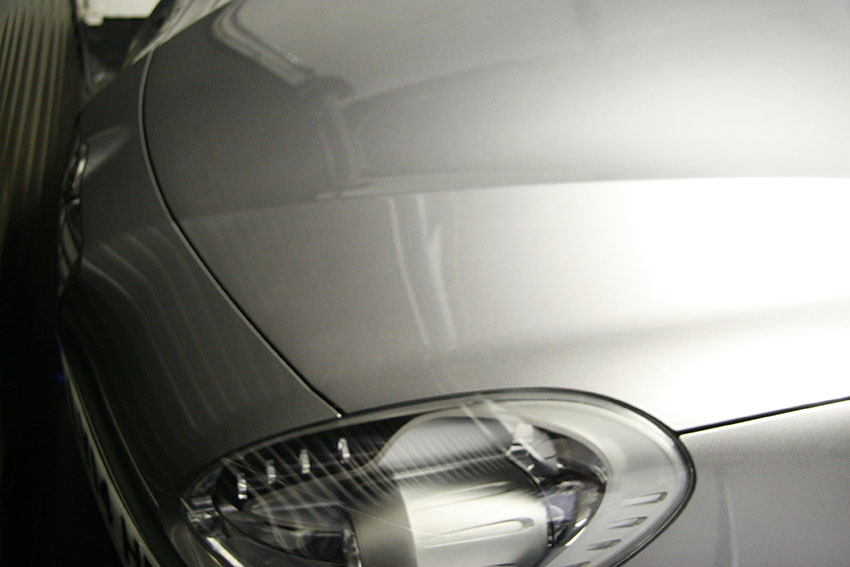
Photo 1: My first stone chip on my 5 week old Magnesio Grey Sportiva TCT.
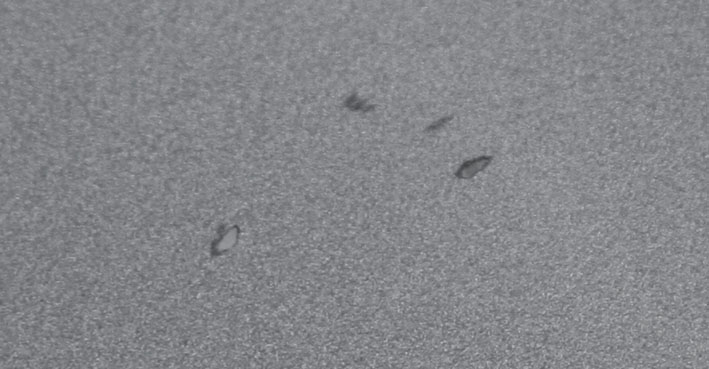
Photo 2: Following the instructions, I cleaned the area. I placed a clean micro fibre cloth close to the work area as a hand rest while applying the paint.
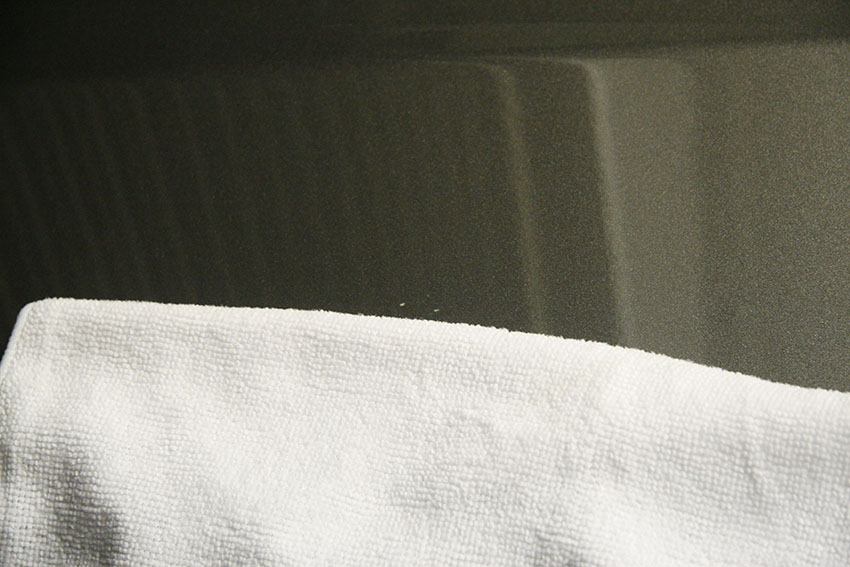
Photo 3: Paint applied using the provided applicator sticks. Tip here is to apply a bit more than you think you need. I always end up with a valley once it dries (it's better to have a little mount.) I left this for 10 minutes
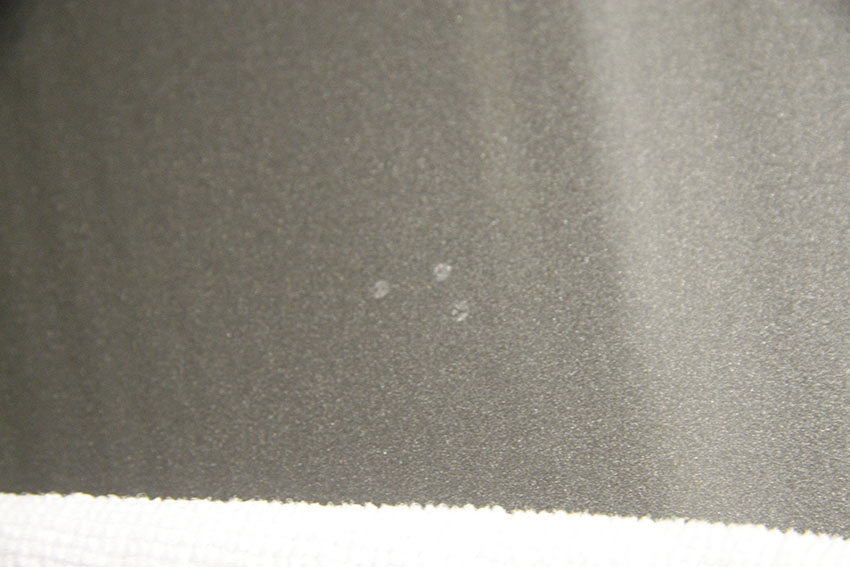
Photo 4. The guide says use your finger to smudge over to flatten the paint but I had greater control using the applicator stick.
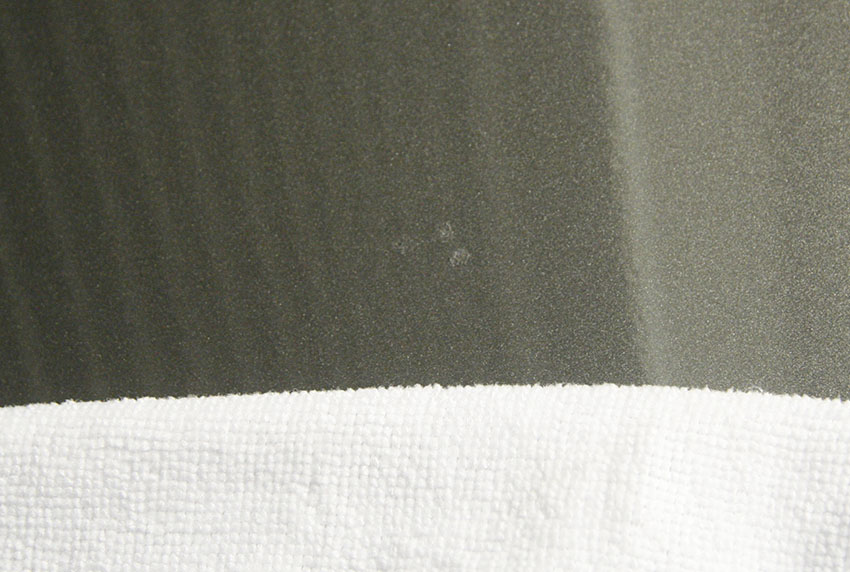
Photo 5. I tore a bit of the blending cloth and taped it round the supplied square foam, should last for ages. You only need a single layer to do this. In the early days I believe a square foam wasn't supplied and people would fold up the cloth to a smallish size and apply too much blending solution, of which most of it would be soaked into all the layers resulting in the solution running out too quickly and leaving lots of paint left. You only need a few drops of blending solution to deal with a couple of chips.
Using a gentle left to right motion, but not a downward motion, I blended it into the paint work. Check the results! If you find any small valleys just repeat the above in that area. Once you are happy, leave to harden for a while, then apply the polish. Its pretty good polish and doesn't leave a haze.
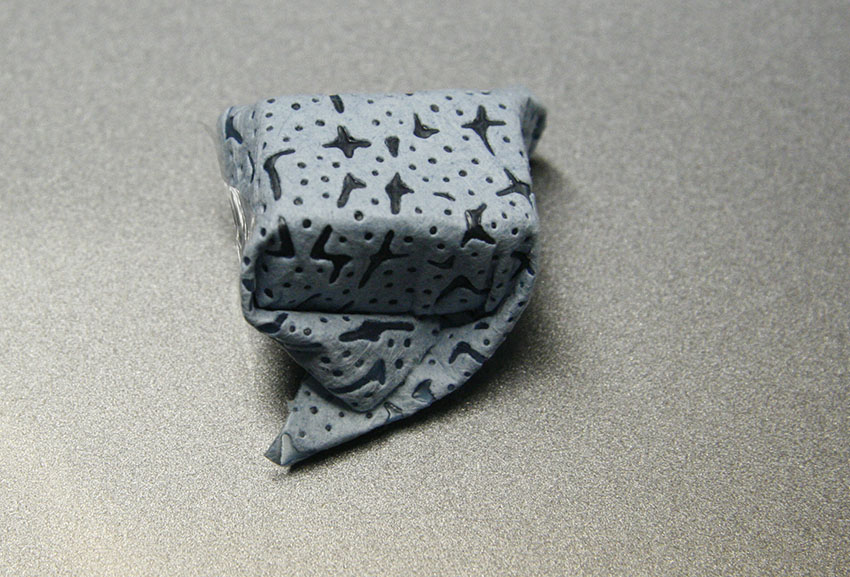
Photo. Here are the results. I'm very pleased! I wasn't even taking my time, given more practice I could get this down to a fine art.